Starting seeds indoors brings spring into your home weeks early, giving Zone 4 gardeners the joy of growing while snow still blankets the Lake Minnetonka area. More than just a way to pass the winter months, indoor seed starting helps ensure healthy, resilient plants that transition successfully into your outdoor garden when warmer days finally arrive.
Whether you’re a first-time gardener or a seasoned Minnesota grower, these nine tips will set you up for seed starting success.
1. Know When to Start Your Seeds
Timing matters more than most gardeners realize. In Zone 4 Minnesota, your average last frost date falls around mid-May (give or take a week depending on your specific location near Lake Minnetonka or the West Metro). Most seeds should be started 6 to 10 weeks before this date, depending on what you’re growing.
Seed Starting Timeline for Minnesota
- 8 to 10 weeks before last frost: Tomatoes, peppers, and eggplant
- 8 to 10 weeks before last frost: Broccoli, cabbage, and onions
- 10 to 12 weeks before last frost: Flowers like petunias and snapdragons
Pro Tip: Starting too early leads to leggy, root-bound plants that struggle when transplanted outside. Patience pays off.
2. Use a Sterile Seed-Starting Mix
Seedlings need light, airy soil that drains well. Look for a sterile seed-starting mix with a fine texture, not regular potting soil or garden soil from your yard.
Heavy potting soil or anything from outdoors can stay too wet and increases the risk of damping-off, a fungal disease that kills seedlings at the soil line. A quality seed-starting mix gives your plants the best foundation for healthy growth.
3. Provide Adequate Light (Windows Rarely Suffice)
Even a sunny south-facing window usually isn’t bright enough during Minnesota’s late winter months. Grow lights are essential for strong, stocky seedlings.
Position your lights just 2 to 3 inches above your seedlings and keep them on for 14 to 16 hours per day. If your seedlings are stretching and falling over, they’re signaling that they need more light. Adjustable light stands make it easy to raise the lights as your plants grow.
4. Use Bottom Heat for Better Germination
Many seeds, especially warm-season crops like tomatoes, peppers, and basil, germinate faster and more evenly with consistent warmth. A seed-starting heat mat keeps soil temperature around 70 to 75°F, which can speed up germination significantly.
Once seedlings emerge, you can remove the heat mat and let them grow at normal room temperature.
5. Water Gently and From Below
Seedlings hate soggy soil, but they also can’t dry out completely. The key is consistent, gentle moisture.
Bottom watering works exceptionally well for seed starting. Set your trays in a shallow container of water and let the soil soak it up from below. This method avoids washing seeds around, reduces fungal problems, and encourages roots to grow downward.
6. Ensure Good Air Circulation
Still air combined with damp soil creates the perfect environment for fungal diseases. A small fan set on low, pointed near (but not directly at) your seedlings, serves two purposes. It strengthens stems by simulating gentle outdoor breezes and reduces disease risk by keeping air moving.
7. Label Everything Clearly
All seedlings look remarkably similar during their first few weeks. Label your trays clearly with the plant name and variety, especially if you’re growing multiple tomato varieties or different pepper types.
Future you will thank present you when it’s time to transplant and you know exactly which plant is which. Permanent markers on plastic labels or wooden stakes work well and resist moisture.
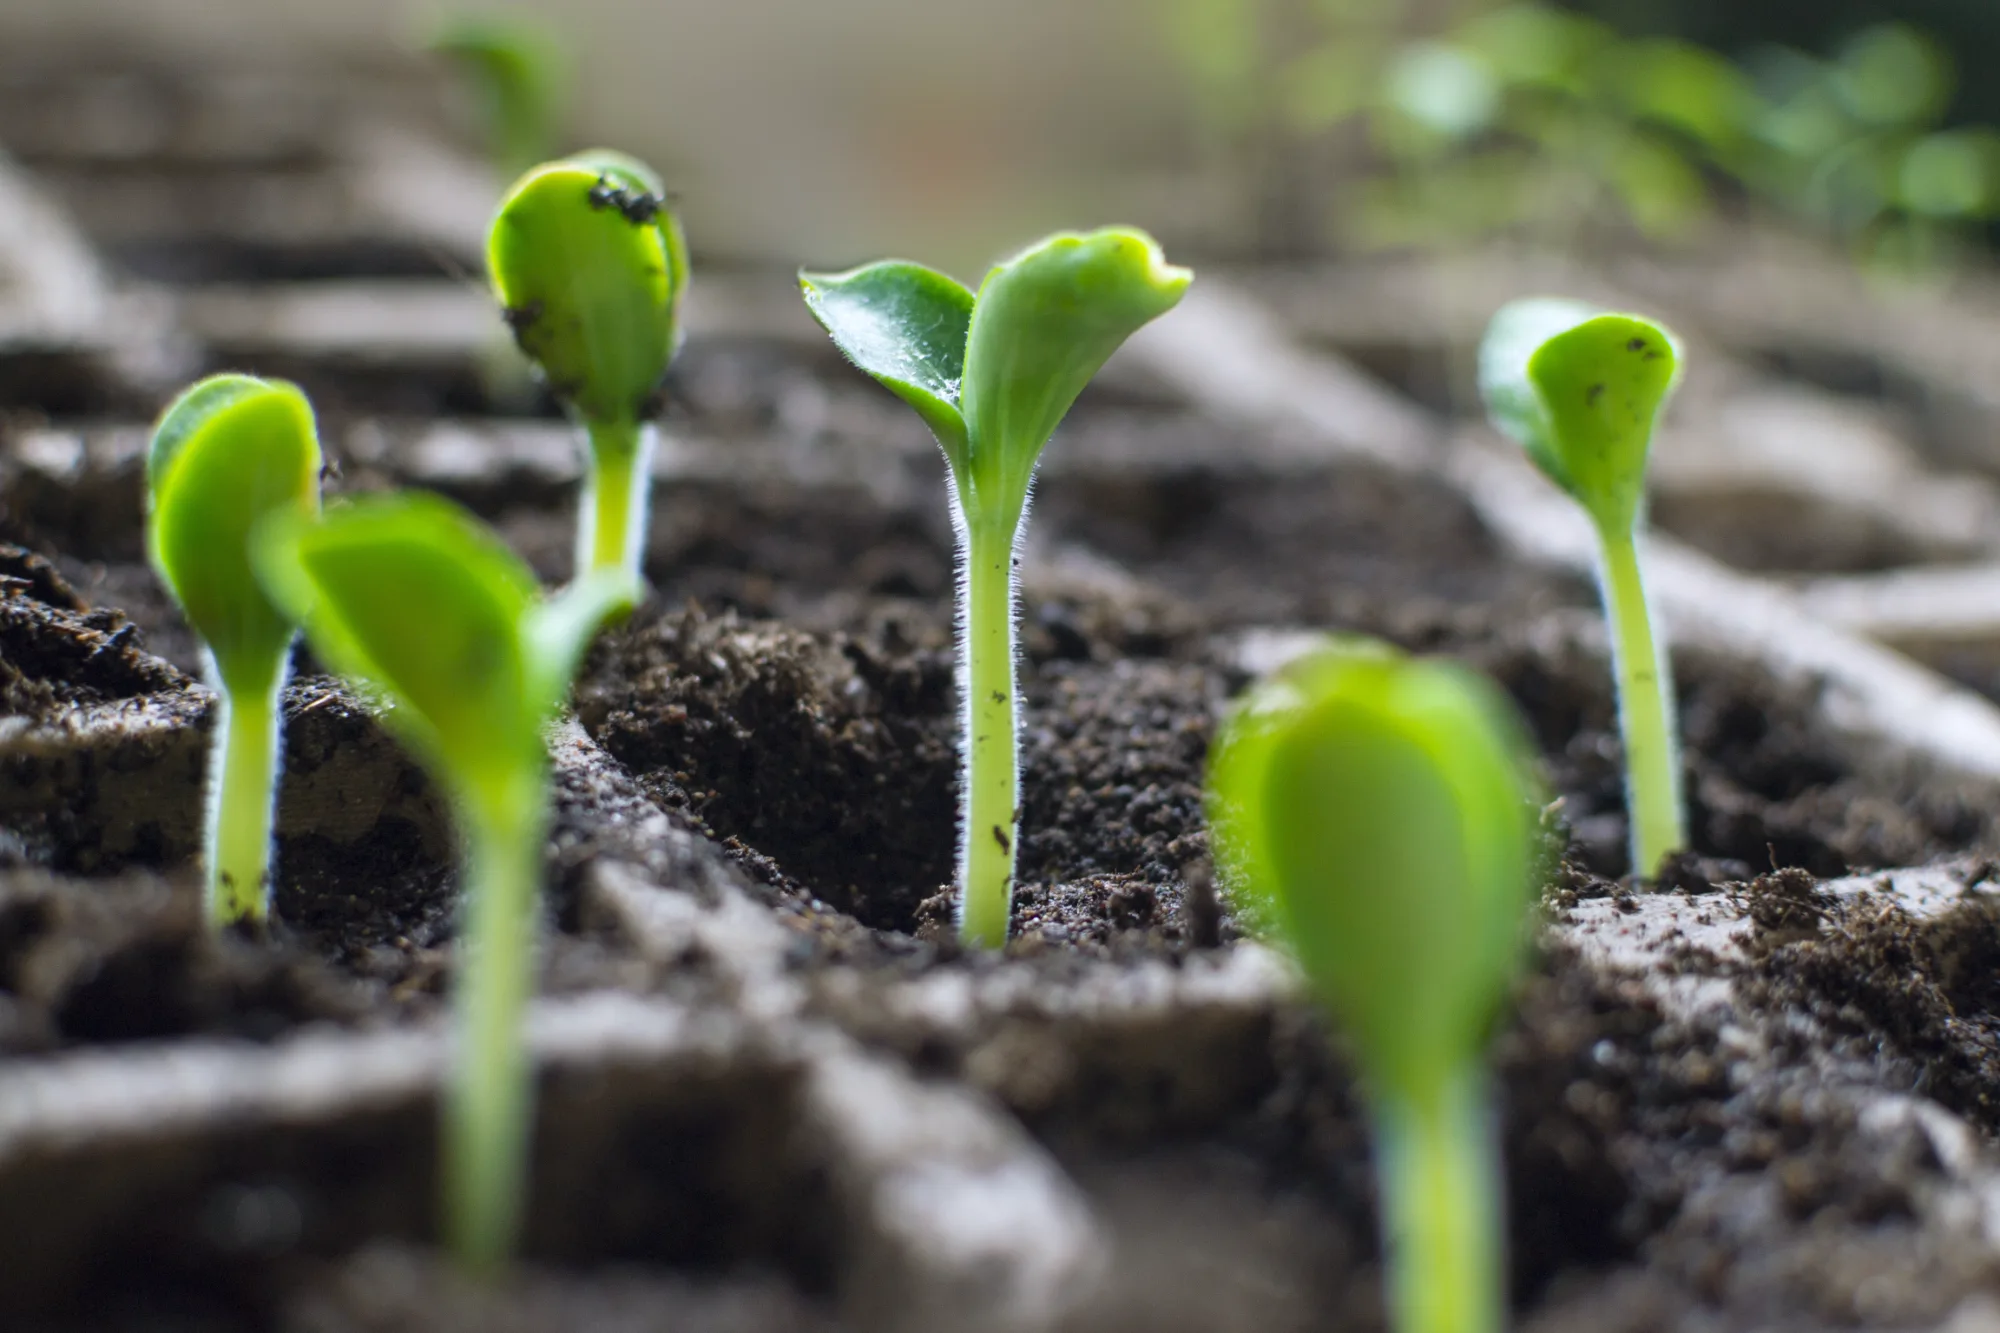
8. Feed Lightly Once True Leaves Appear
Seedlings rely on stored energy in the seed until their first set of true leaves develops. Once those true leaves appear (the second set of leaves, which look different from the initial seed leaves), it’s time to start feeding.
Use a diluted liquid fertilizer at about one-quarter strength every one to two weeks. Your seedlings need nutrients to grow strong, but overfeeding can burn tender roots and cause more harm than good.
9. Harden Off Before Transplanting
This step is crucial and often overlooked by eager gardeners ready to get plants in the ground. Before moving seedlings into your outdoor garden, gradually expose them to outdoor conditions over 7 to 10 days.
Start with just an hour or two in a sheltered, shady spot, then gradually increase sun exposure and time outdoors. This hardening-off process prevents transplant shock and sunburn, giving your plants the best chance to thrive once planted in your Minnesota garden.
Key Takeaways for Zone 4 Seed Starting Success
Successful indoor seed starting in Minnesota comes down to three things: timing, light, and restraint. Don’t rush it, don’t drown it, and don’t skimp on light. Your spring garden will start strong long before the snow melts.
Ready to Plan Your Spring Garden?
At Pleasant View Gardens, we’ve been helping Lake Minnetonka and West Metro homeowners create beautiful gardens for over 50 years. Whether you need help with garden design, installation, or seasonal maintenance, our MNLA-certified team is here to bring your outdoor vision to life.
Contact us today to schedule a consultation and start planning your spring garden.